Your cart is empty.
Let’s face it, cannabis lovers haven’t really been given a fair shot at their depiction. So often, pop culture represents our community as a grungy sort of person, not known too well for their cleanliness. Well, that’s not nearly true. Any THC enthusiast that smokes or dabs will tell you that cleanliness is one of the first things they think about! A dirty rig can lead to all sorts of unwanted issues. A clean rig is a happy rig, and it makes for a better session.
If you’ve never dabbed before, you might be concerned about the dab rig cleaning process. If that’s the case, not to worry! Cleaning dab rigs is just as easy as cleaning a standard bong. Take a look at our guide on cleaning dab rigs!
Why Does Cleaning My Dab Rig Matter?
There are a few answers to this, actually. A clean dab rig is important for every session and can be important for safety, too! Avoid using a dirty rig as it can cause significant issues for both you and your rig.
A Clean Rig is an Efficient Rig
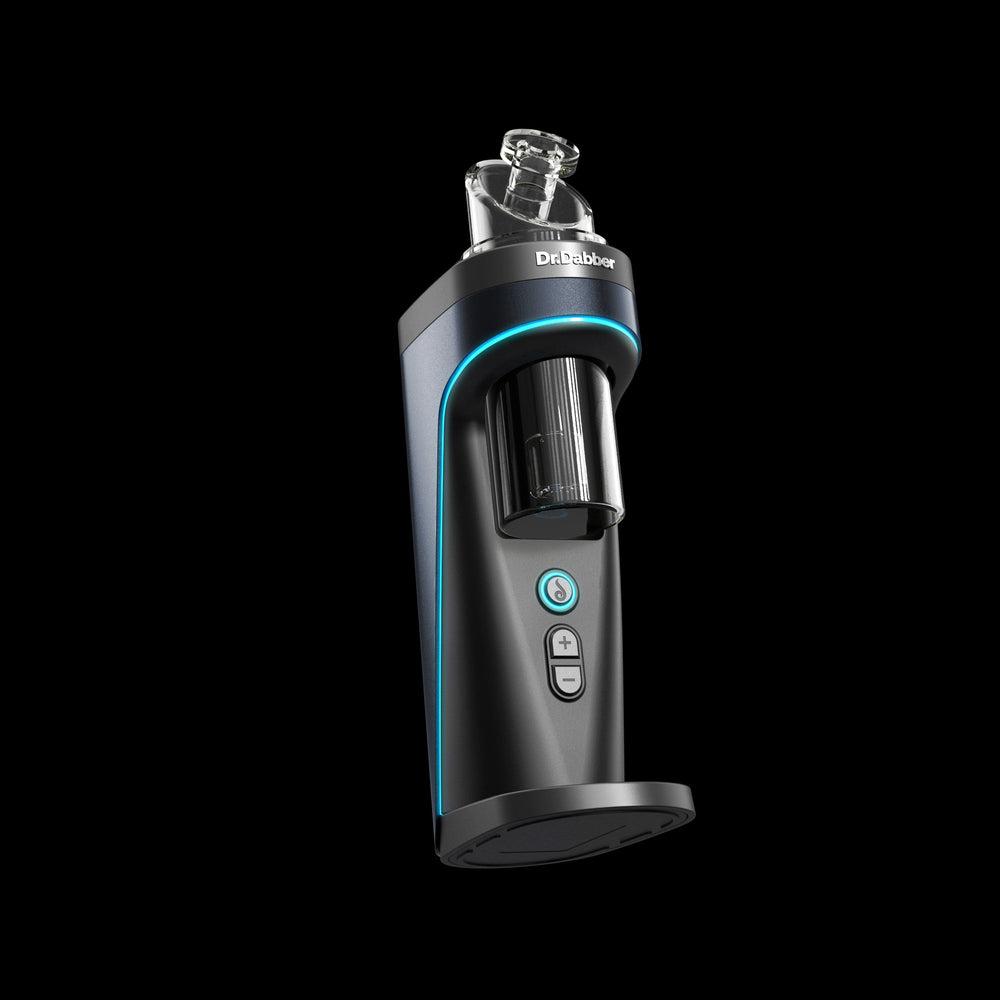
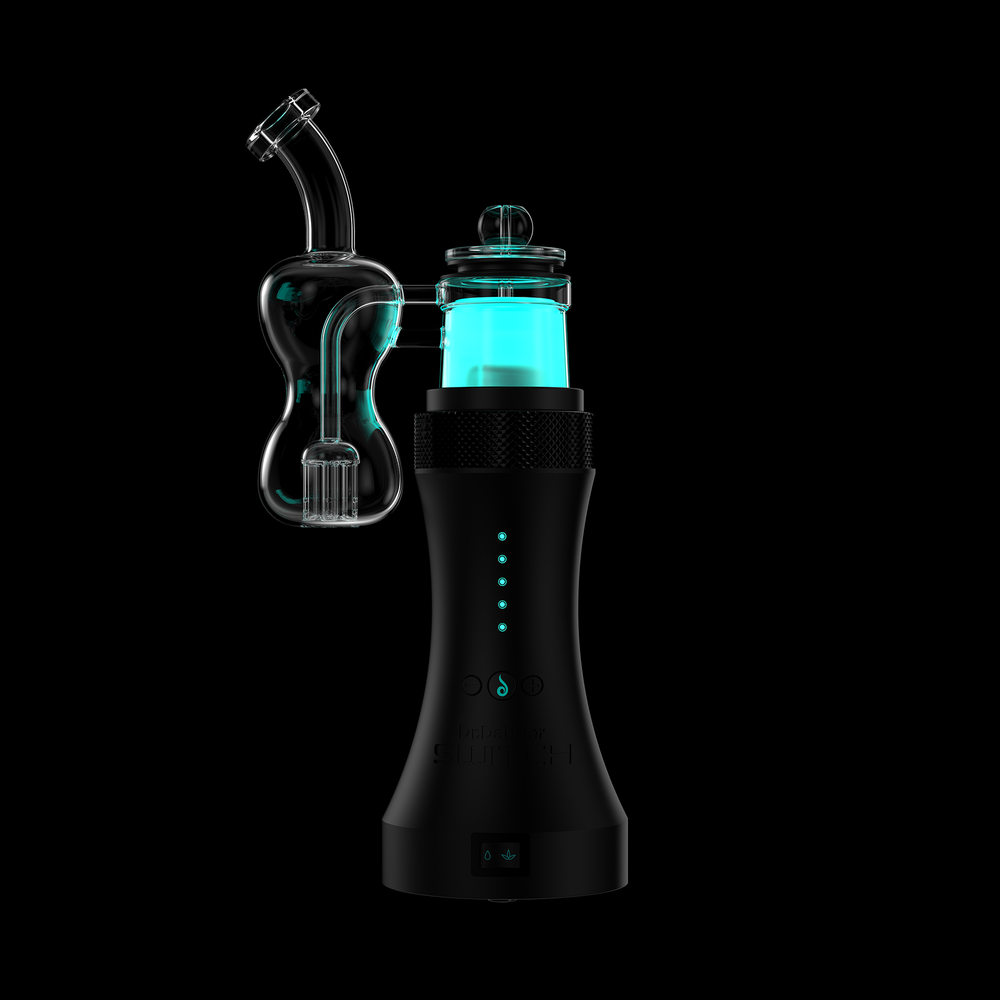
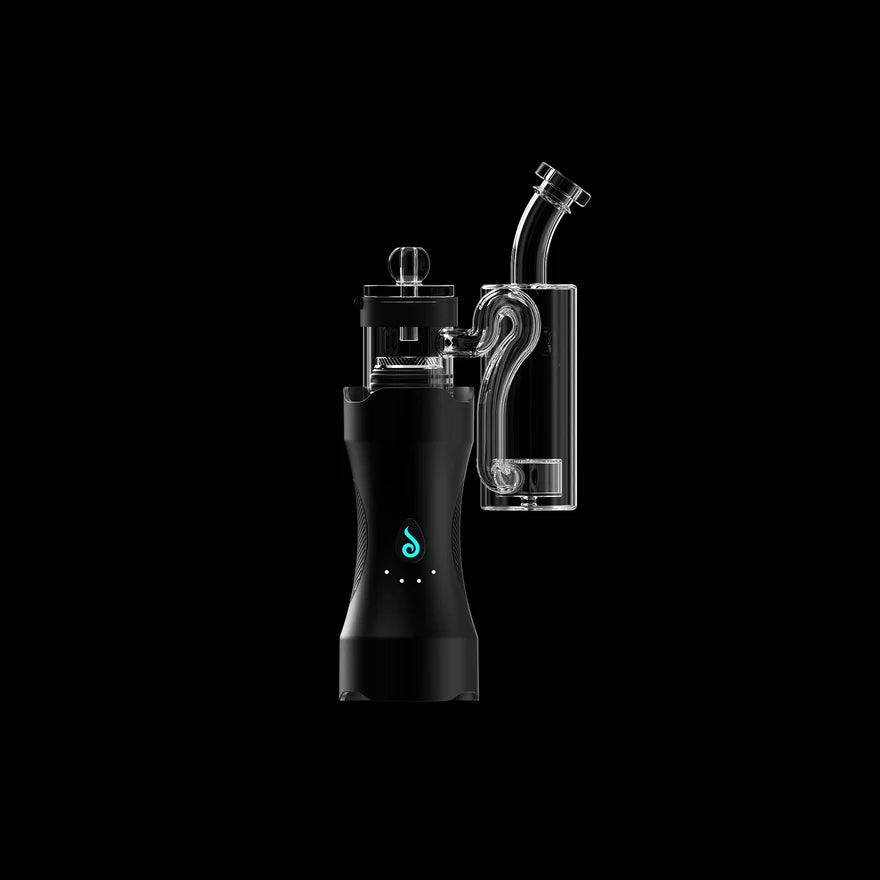
If you allow THC concentrates to build up in your rig, you start to compromise the quality of the rig itself. It can become more difficult to use, and overall less desirable to use because of that. When you’re dabbing, you want to be able to enjoy yourself. Taking care of your rig is part of that and because we understand how important it is to have a clean rig, we designed the SWITCH with a self-cleaning mode.
A Clean Dab Rig is a Healthy Rig
THC and water both enter dab rigs. If you don’t clean them out of your dab rig, then harmful bacteria can grow in the rig itself. Additionally, viruses and bacteria can be introduced into the rig by others if you share your rig with other people! Sharing is caring, but only clean rigs should be shared among friends, of course. Here, we'll dive into just how to clean a dab rig.
A Clean Dab Rig Produces Better Dabs
If you’re looking to hit the perfect dab every single time, then you’ll need to clean your dab rig regularly and effectively. A well-kept rig allows for more efficiency, of course, allowing for you to inhale better. It also means that your dabs will be more flavorful, though. If there is residue or buildup in your rig, then the flavor of your concentrates will be highly affected and won’t taste nearly as good. If you like a flavorful dab, you need a clean rig.
Now that you know why you need a clean rig, it’s time to learn how to actually do it! Keep reading to learn the proper process and say goodbye to a dirty rig!
How To Clean a Dab Rig, a Step-by-Step Guide
Suppose you’ve never cleaned a dab rig before. It can be a little intimidating. Not to worry, though. Learning to clean your dab rig is a simple process that you’ll likely have experience doing with other items. Check out the steps below.
Step 1: Gather Your Supplies
When you’re cleaning your dab rig, you’ll need a handful of supplies to make the job easier. We have a few recommendations on what to use for your dab rig, as you can see below.
- A substantial amount of isopropyl alcohol (rubbing alcohol)
- Table salt, rock salt, or sea salt
- A plastic bag
- A funnel
- A cleaning cloth, preferably something that’s microfiber or similar
- A cotton swab(s), such as our Iso-Snaps, for hard to reach places
- The dab rig that you’re cleaning
- A second microfiber cloth for drying the rig (avoid using a paper towel)
Once you have all of these supplies gathered, you’re ready to begin!
Step 2: Creating the Cleaning Solution
When you clean your dab rig, you’ll need to create the solution you’ll be using to clean. This can be done by mixing about 16 ounces of isopropyl rubbing alcohol with about a half cup of table salt, rock salt, or sea salt. Mix the solution until the salts have dissolved completely in the alcohol and salt mixture.
Step 3: Disassemble Your Dab Rig and Fill It
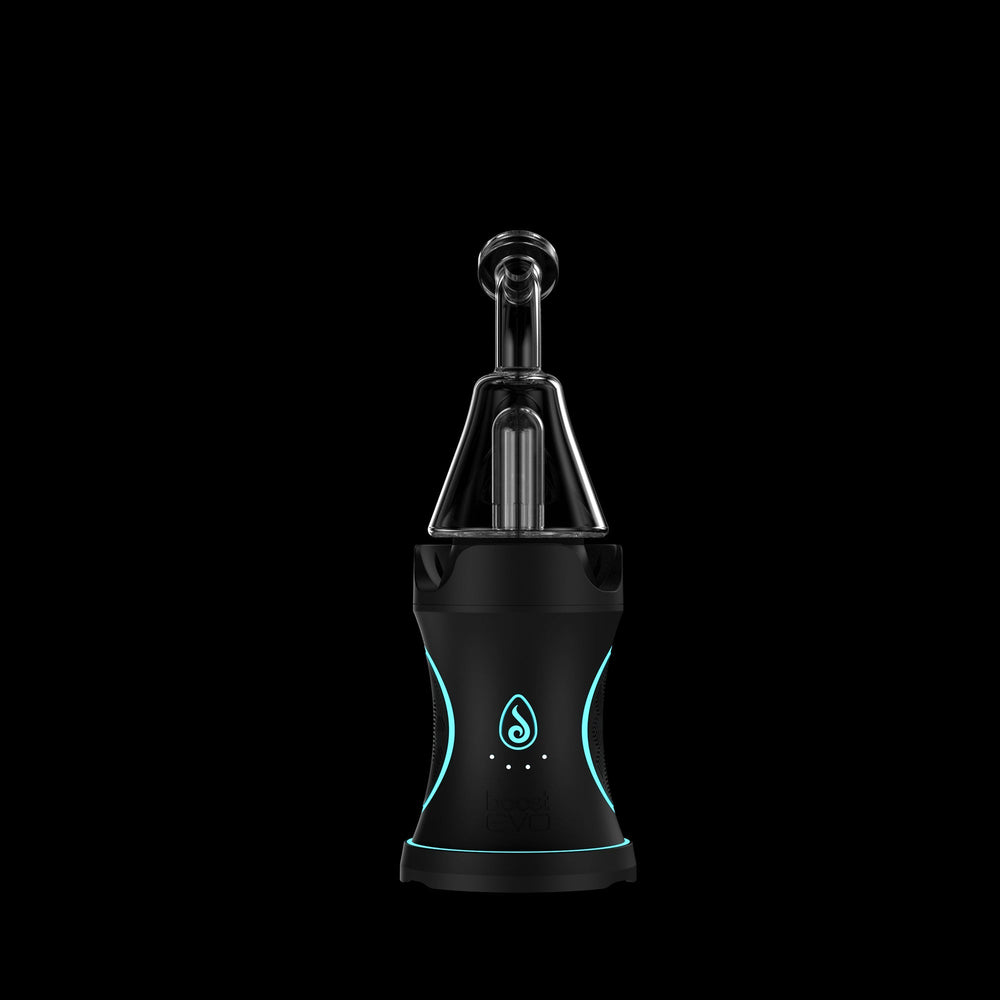
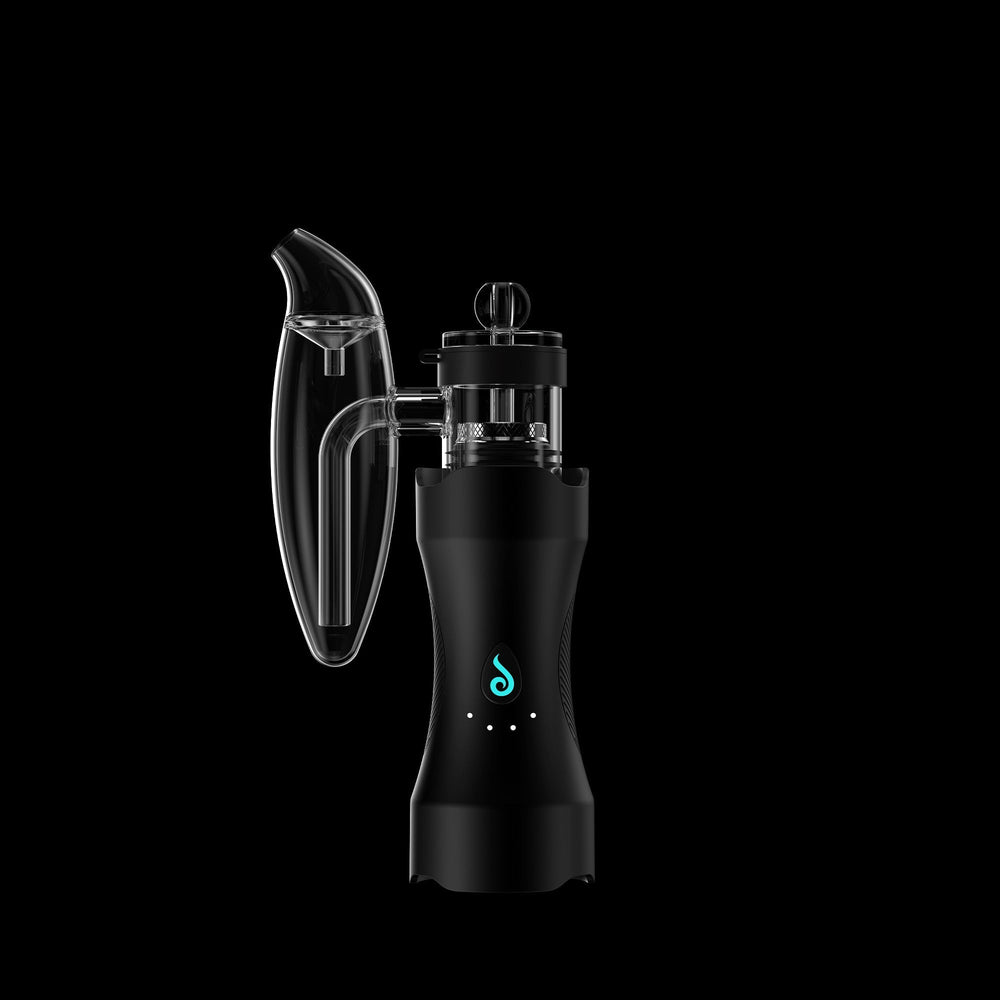
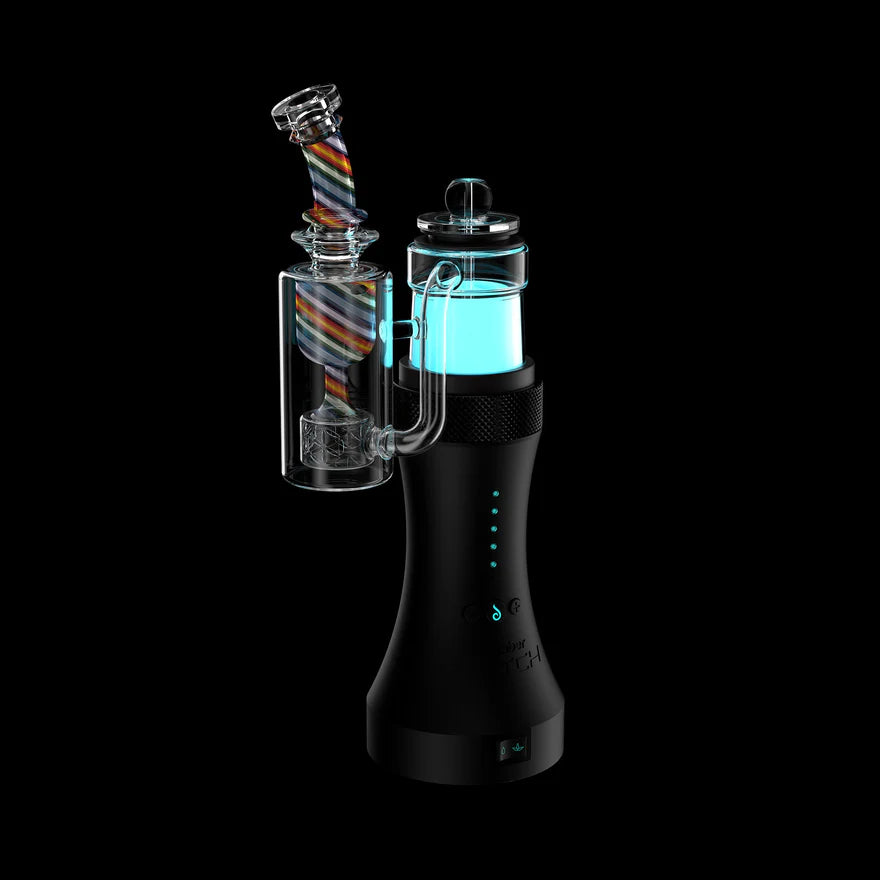
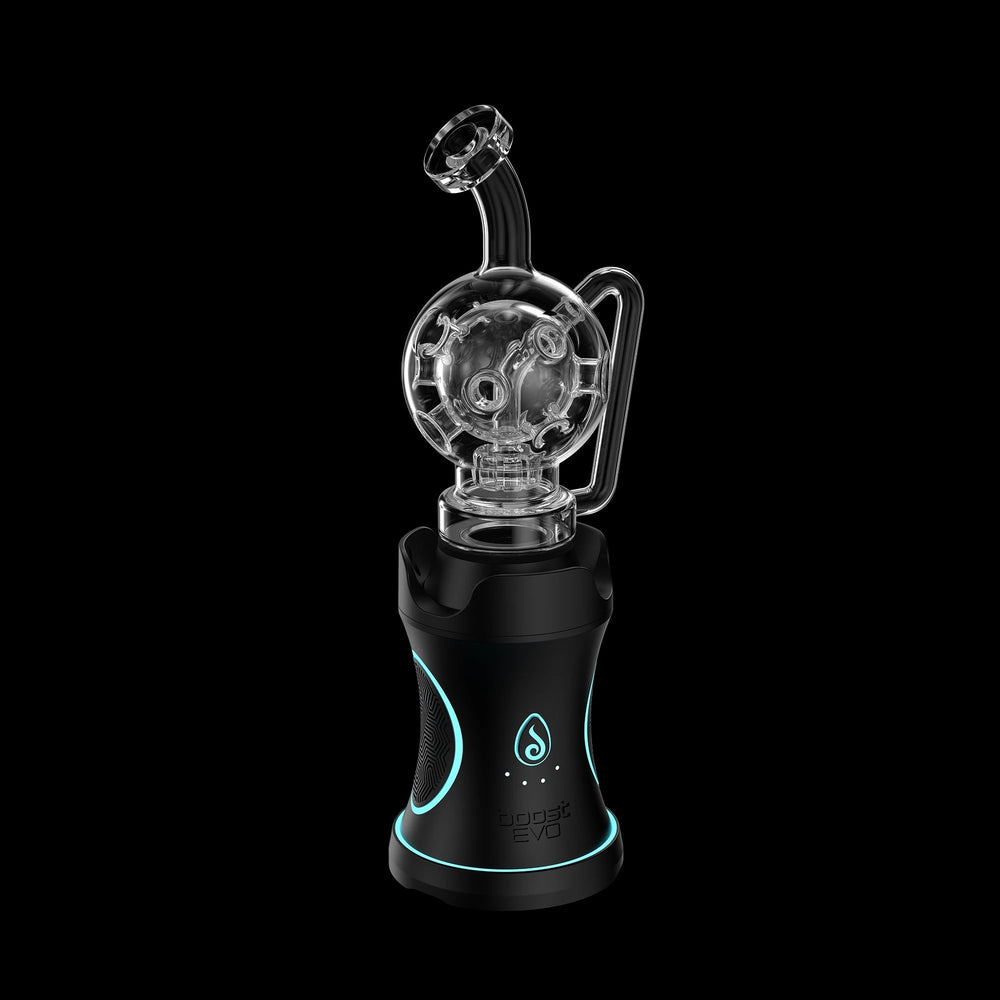
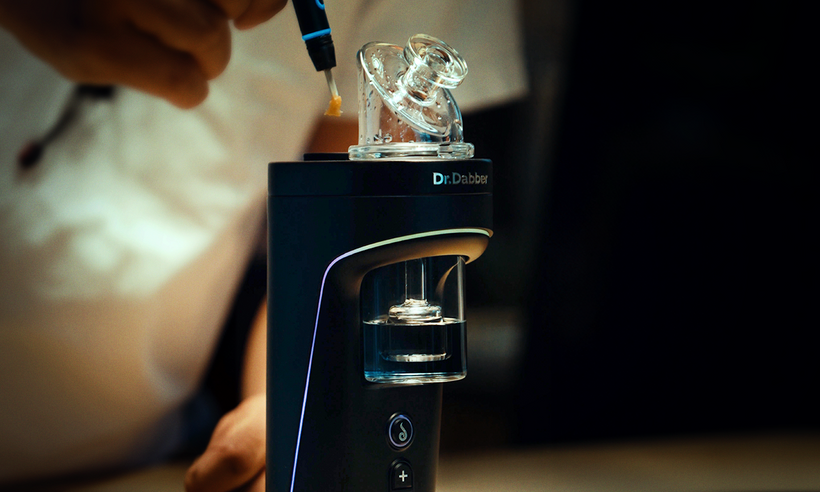
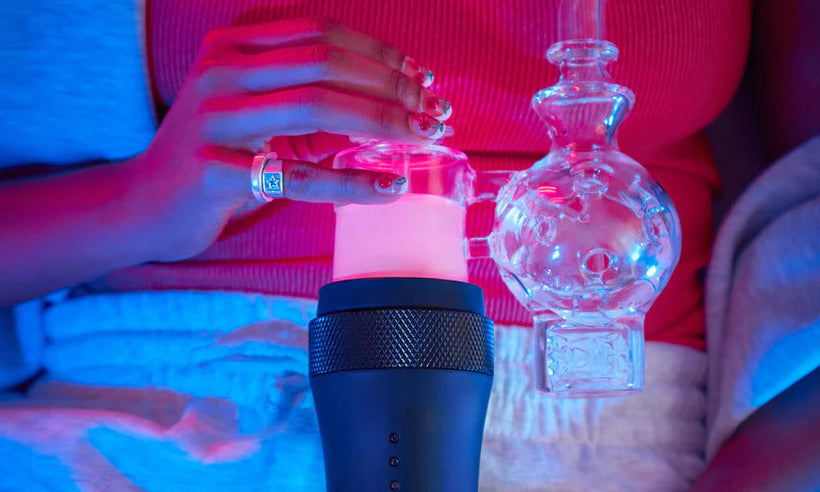
Once your solution has been mixed, it’s time to take your dab rig apart so that it can be filled. For the SWITCH and Boost EVO, this just means removing the glass attachment from the base. These will be cleaned separately in a later step. Trust us! This will make your life easier. Once the attachment has been removed, fill your dab rig’s chamber with the solution.
Since the SWITCH is designed with all internals completely sealed off, this means you can literally pour your cleaning solution directly into where you would place your induction cup. When it comes to cleaning the exterior of the Boost EVO or SWITCH, we recommend using 70% isopropyl alcohol or lower, otherwise you may tarnish the finish. Just dip a paper towel in your iso and dab away at any dirt or marks.
Step 4: Bag Your Dab Rig Glass Attachment
One of the properties of isopropyl alcohol is its tendency to evaporate quickly. As such, you’ll need to cover your glass attachment to prevent it from happening. This is where your plastic bag comes in. If you’ve chosen to fill your attachment, simply place plastic bags over the openings to prevent the rapid escape of the solution. If you’ve submerged your attachment, put a lid on whatever container you’ve placed it in.
Step 5: Agitate the Cleaning Solution
Once everything is sealed up and secure, agitate the solution inside of the rig. This helps to get the process started and loosens up any sort of big buildups. This is going to be immensely helpful and can make the soaking process a little bit faster.
Step 6: Let It Soak
Once agitated, you can let it soak anywhere from 30 to 60 minutes. Now, that’s the minimum amount of time. To get a really good, deep clean in, it’s recommended to let the solution do its thing for an entire night and resume the process the following day.
Step 7: Clean the Intricate Parts
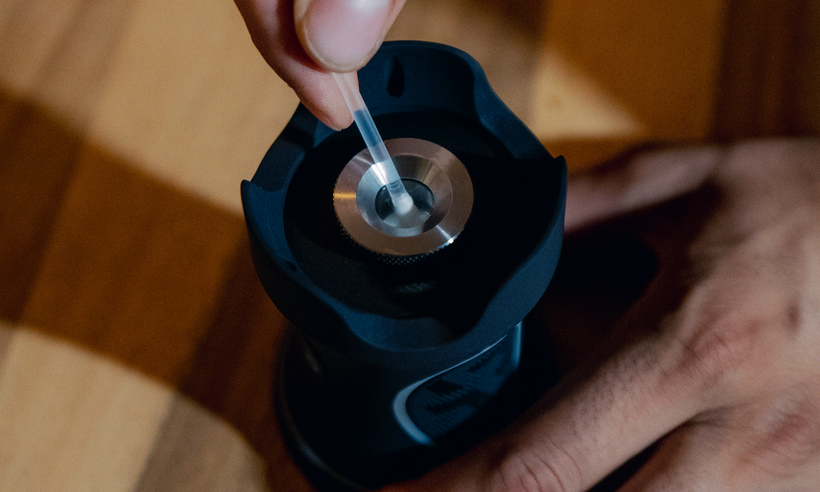
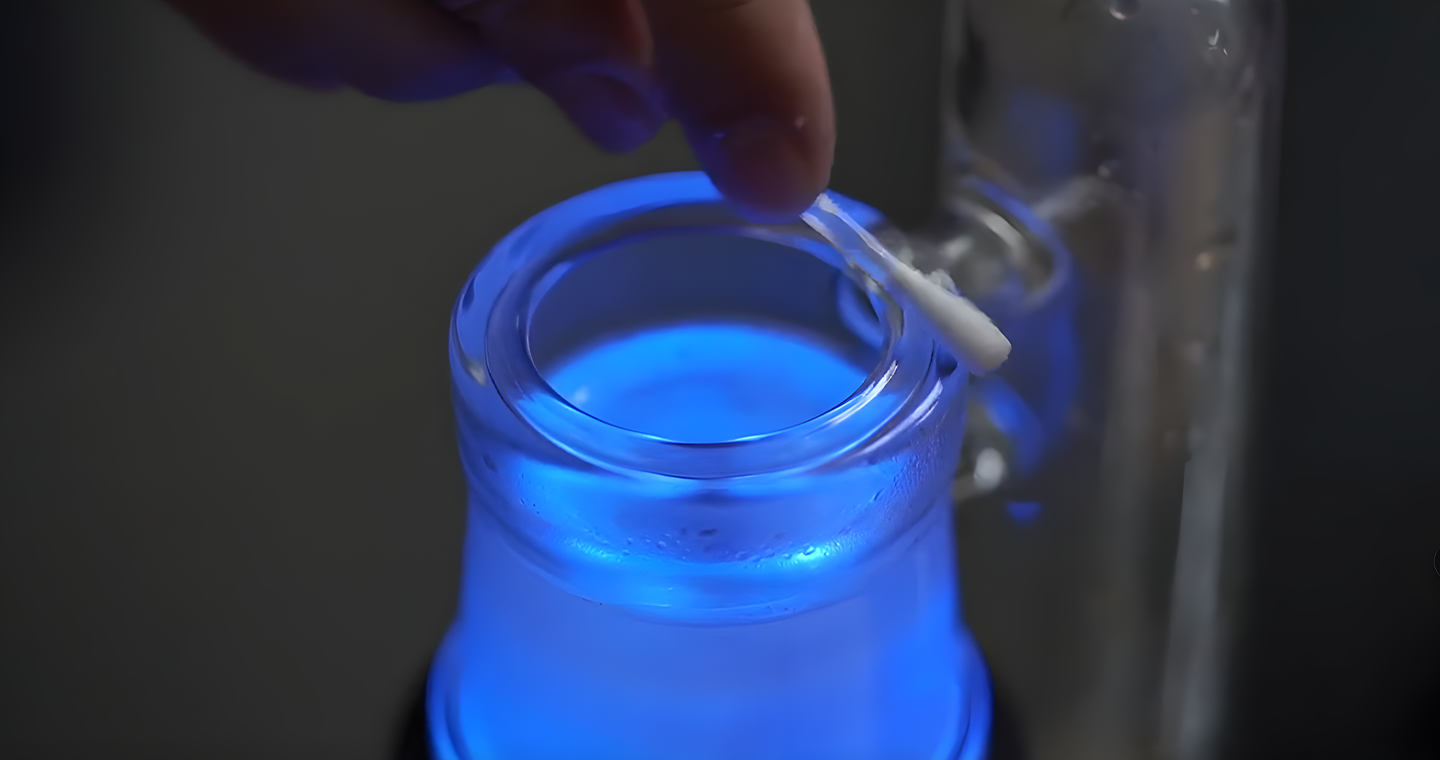
While your rig is being soaked, it’s time to target all of the intricate parts that you removed in prior steps. Using a cotton swab or Iso-Snaps, which are conveniently pre-soaked with an isopropyl alcohol solution, focus on all of the hard-to-reach places in your banger, your nail, carb cap, and your mouthpiece.
Step 8: Rinse the Dab Rig and Deep Clean
Once you’ve finished soaking your attachment, you can empty it and begin rinsing it out. When you’re rinsing it, be sure to use warm water. Using water that’s too cold or too hot can damage the glass permanently by cracking it. We highly recommend being wary of too much heat on your glass.

Inspect your rig and glass following the rinse, and see that all buildup has been removed. If your rig is more intricate, be sure to grab your cotton swab or Iso-Snaps and deep clean them, then rinse again. Be sure to rinse thoroughly so that you can get all of the cleaning solution out. This is imperative to your dabbing experience.
Step 9: Dry Your Dab Rig
While waiting for the interior to dry, take your microfiber cloth and focus on the exterior as well. Cleanliness is key, so the exterior should be as clean as the interior. This ensures having a great experience during your first session following the cleaning. Then, once cleaned to a degree that you find acceptable, dry any excess water. After cleaning your glass and rig, let it dry completely before its first use.
Tips to Keep in Mind When Cleaning Your Dab Rig
When cleaning your dab rig, there are a few tips you should keep in mind that will make the process effective and safe for your glass.
- Soaking longer makes cleaning easier. While you can clean your dab rig in a pinch, let it soak overnight to make sure that all the residue is removed completely. A 30 to 60-minute soak will remove a lot, but not nearly everything.
- Hot water is a deal-breaker. Cleaning your glass with hot water might seem like a no-brainer, but these aren’t industrial-built pieces like dishes are. These are far more delicate. Use room temperature water for best results.
- It’s okay to clean accessories with Iso-Snaps alone. It will be tempting to soak every part of your rig, but it will double up on your work. Cleaning mouthpieces, carb caps, bangers, domes, and nails separately are the best ways to clean them. Soaking, even overnight, won’t clean all of the hard-to-reach places in these accessories.
Is Sterilizing a Dab Rig Necessary?
Yes! Especially if you’re taking part in sessions with other people. Sterilizing the exterior of the rig, as well as the mouthpiece, can help prevent passing any sort of bacteria or viruses to one another. Sterilization is a big part of cleanliness, and enjoying a group session means being able to avoid getting sick.

What About Vape Pens?
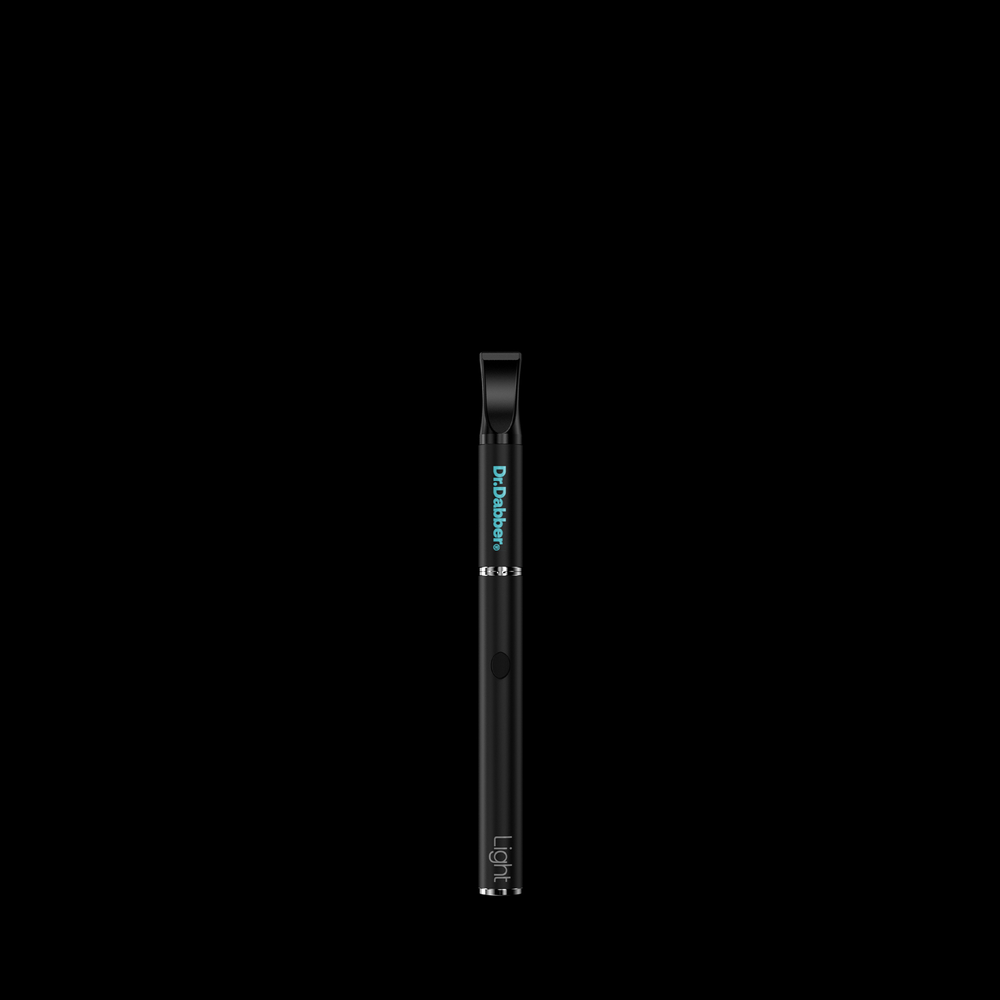
Vape pens should be cleaned and sterilized, as well, especially if you’re sharing them as people tend to do. Unfortunately, even using Iso-Snaps, these can be a real pain to clean. One tool that can make it easier is our Budder Cutter! While the Budder Cutter might be designed to be a loading tool, as well as a concentrate cutter, it can be utilized as a cleaning tool, too.
Because the Budder Cutter heats up to do its job, it can help you melt down any residue or leftover concentrate in your pen before loading it up with fresh product. This is the best way to keep your vape pen clean and keep your vaping enjoyable. No one wants to taste stale, old concentrate when they take a quick hit. The Budder Cutter is your best friend when it comes to cleaning vape pens!
The Cleaning Process For Dab Rigs Starts Earlier Than You’d Expect
If you’re looking to maintain your rig like a responsible owner, then it’s important to realize that cleanliness starts long before you start cleaning. It starts with organization, and little improvements in organization can ripple through the entire process. Keep these things in mind when it comes to organization and cleanliness.
An Organized Session is a Cleaner Session
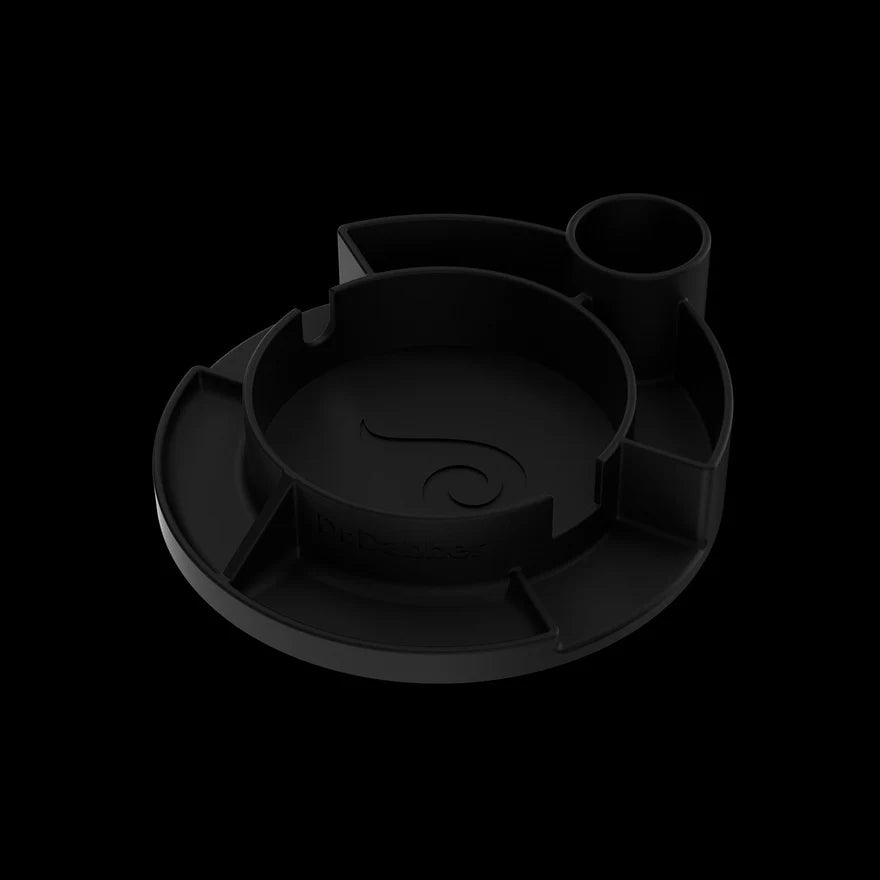
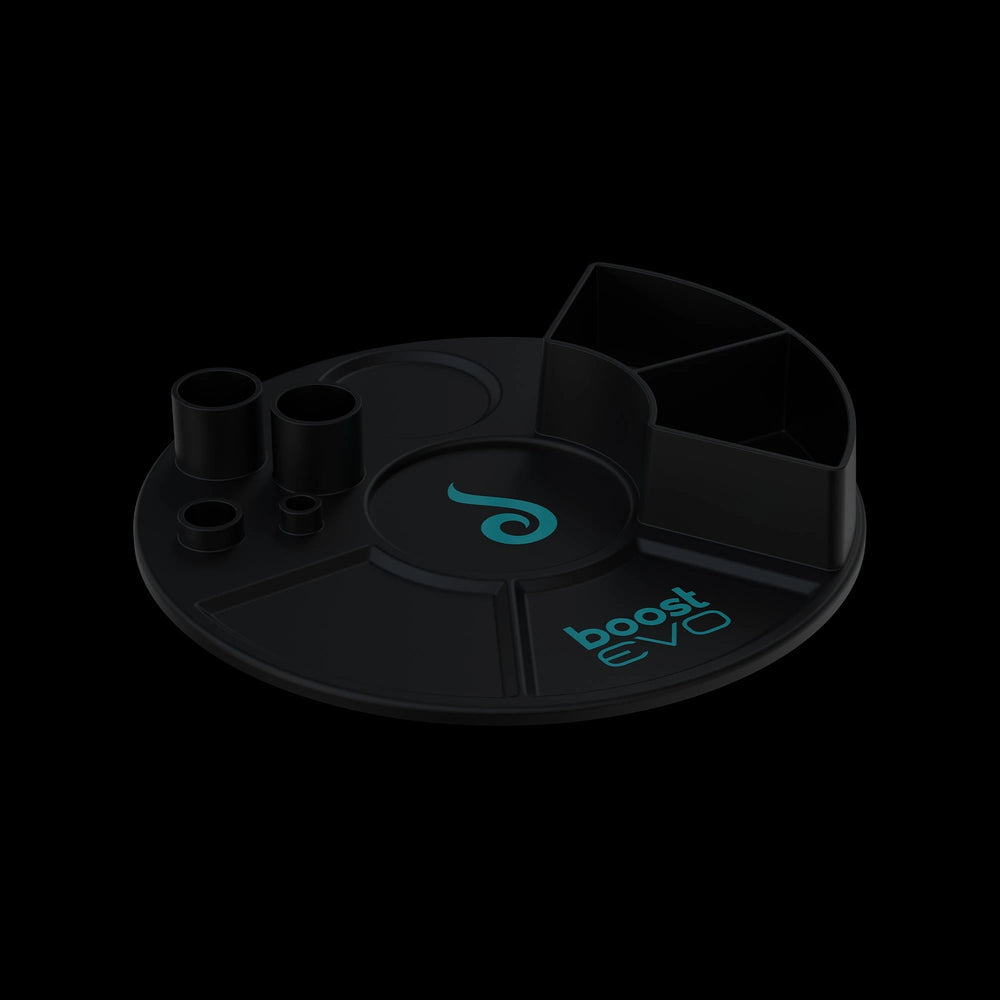
Sometimes, you want to dab immediately. We get that. However, organizing your sessions can make the entire process a whole lot cleaner. It starts with your setup. When you’re getting ready for a session, simply putting down a silicone mat, like the ones we designed for the Boost EVO and the SWITCH, can make the session much cleaner.
Silicone mats prevent any sticky concentrates from getting stuck anywhere. They give you a clean place to put your accessories while you load concentrates into your rig. Mats are there to catch anything that drops before it can make a mess of anything else.
An Organized Kit Includes Cleaning Supplies
Any organized kit will contain cleaning supplies. Keeping up with cleaning your rig is important for enjoyable sessions. Simply adding a pack of Iso-Snaps and some paper towels can make spot cleaning a part of every session and will allow you to avoid deep cleaning as often.
An Organized Kit Keeps Concentrates Organized, Too
The messiest part about dabbing isn’t the act of dabbing itself; it’s the loading of concentrates. Having a tool, like the Budder Cutter, can make handling concentrates easier. Having a silicone case for your concentrates is also a great way to keep things clean and organized. Always be vigilant about organizing your kit, as it leads to a cleaner rig. A cleaner rig makes sessions far more enjoyable!
How Often Should I Be Cleaning My Dab Rig?
The answer to this question is based on quite a few things. It depends on how often you use your rig, how clean you keep it before deep cleans, and how often you share it. If you’re using your dab rig or vape pen consistently, it’ll need to be cleaned more frequently than if you were only using it upon occasion. If you’re sharing your rig frequently, then sanitizing it between sessions is highly recommended, and more frequent cleaning will be required.
A good rule of thumb for doing a full teardown and cleaning is every 3 to 6 months. If you’re using your rig every day, it may need to be cleaned more often. If you’re only using it every so often and spot cleaning between sessions, you may be able to stretch deep cleaning out to the full six-month intervals. For the most part, you should be using your best judgment. If your dabs start tasting funny, or it gets harder to inhale due to obvious buildup, it’s pretty apparent that it’s time for a deep clean.
Are There Other Cleaning Methods for Dab Rigs?
If you’re concerned about using alcohol as your primary cleaning solution, there are other options out there aside from isopropyl alcohol. Here are three different solutions you can make at home and use to clean a dab rig with.
Salt and Vinegar
This solution works similarly well to salt and alcohol, but it doesn’t smell great. It also takes a bit longer to break up the buildup. However, with a minimum soak time of 2 hours, it’s still not too bad.
Baking Soda and Vinegar
Another very effective cleaning method. Because you’re still using vinegar, it still won’t smell great, though. The soak time is about the same as salt and vinegar.
Lemon Juice and Water
It’s well-known that the acidity in lemon juice is an effective cleaning agent. However, for the purposes of cleaning your rig, it's the least effective solution on our list. It smells great, but plan on soaking your rig overnight, and maybe a second time.
Key Takeaways
When it comes to using dab rigs, cleanliness is the best way to keep your experience a positive one. A clean rig leads to better tasting dabs and helps prevent you from getting sick, which is important. The first step to cleanliness is knowing ways to clean a dab rig in the first place. The next step is organization, and by keeping a few simple supplies on hand, you can make cleaning your rig as enjoyable as using it. Clean your rig, folks!
