


Your cart is empty.
${ item.title }
$ ${item.price}
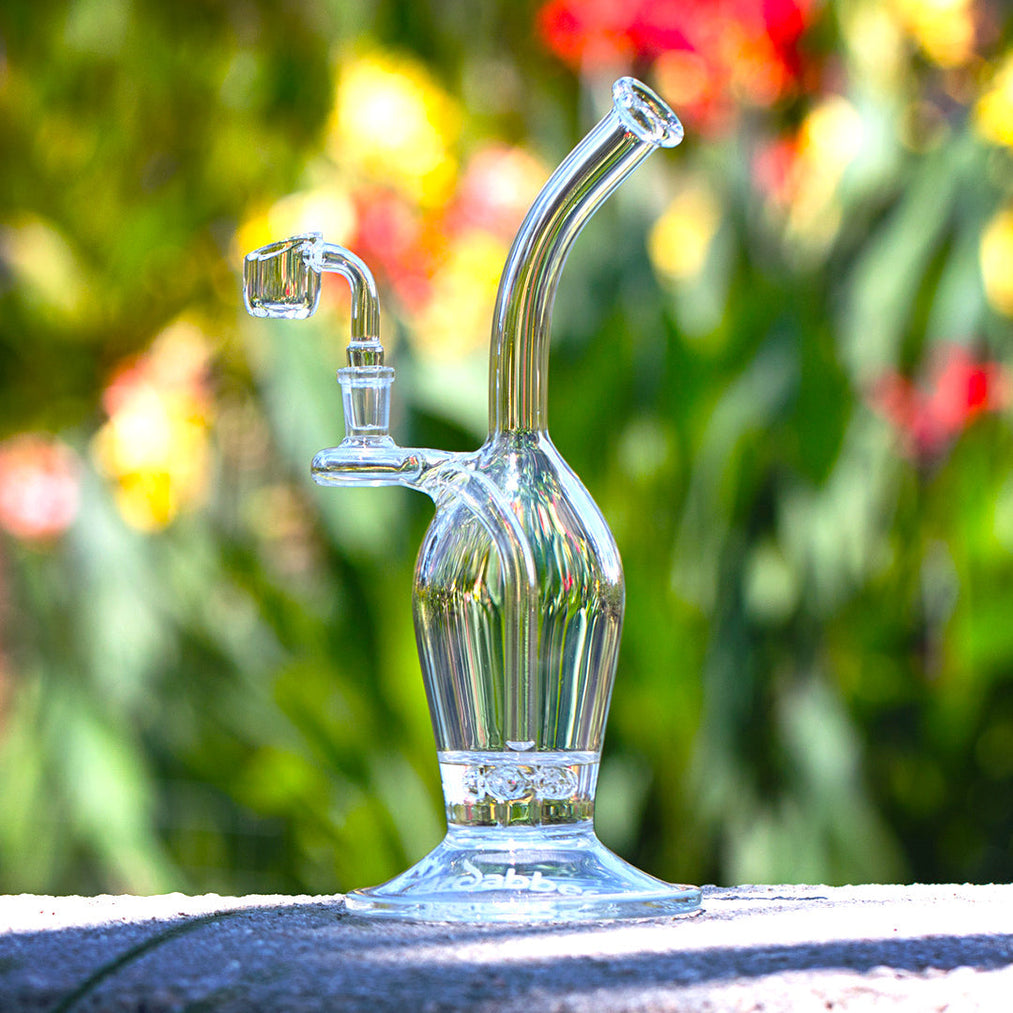
Using your dab rig is an enjoyable way to consume your favorite products - until it comes time to clean it. We’ve all been there - dreading cleaning our equipment and ignoring the task until it absolutely has to be done. So since we all know a clean rig is vital to an enjoyable smoke sesh, here is a quick rundown on how to properly clean yours, plus how often you should be attending to it.
Collect Your Reclaim
The first thing you should do before you actually get started on cleaning your rig is collecting the reclaim. If you don’t know what reclaim is, it’s the concentrate that gets caught in your rig, usually in the joint of the rig. You can dab your collected reclaim, use it for edibles, or throw it away, whichever you prefer. To collect it, just simply empty the rig of water, remove the banger, and heat up the reclaim with a torch just long enough for it to liquefy, allowing it to drip out into storage of your choice. It’s important to note that not all rigs are designed to do this, and sometimes collecting reclaim won’t be possible.
Rubbing Alcohol & Salt
A tried and true way to clean your rig is by using rubbing alcohol and salt. Assuming you’ve already emptied the water and have collected your reclaim (is possible), make sure your banger is removed as well. Now it’s time to add the rubbing alcohol and salt. It’s recommended to use kosher salt because it is bigger and can knock off gunk easier than regular table salt, while for rubbing alcohol 99% isopropyl is recommended, but with COVID-19 shortages it may be difficult to come across that strength. Any strength will work, it just might take longer to clean.
Time To Shake
Once you’ve added enough rubbing alcohol to fill the base, go ahead and add in as much salt that you think you need (there’s no magic ration). Make sure to cover all openings, and then (carefully) shake your rig to remove built-up concentrate. Pour out the cleaning concoction and then thoroughly rinse your rig with water.
Pro-tip: If there are some spots that you can’t seem to get off, try going in with a pipe cleaner or straw cleaner to rub away the remaining gunk.
Cleaning the Banger
Cleaning your banger is quick and easy. Just simply pour a concoction of rubbing alcohol and salt in a plastic bag, place your banger in there, seal it, and gently shake. If your banger doesn’t appear to be getting clean, soak it in the rubbing alcohol for a few to help loosen the debris you can’t seem to shake off.

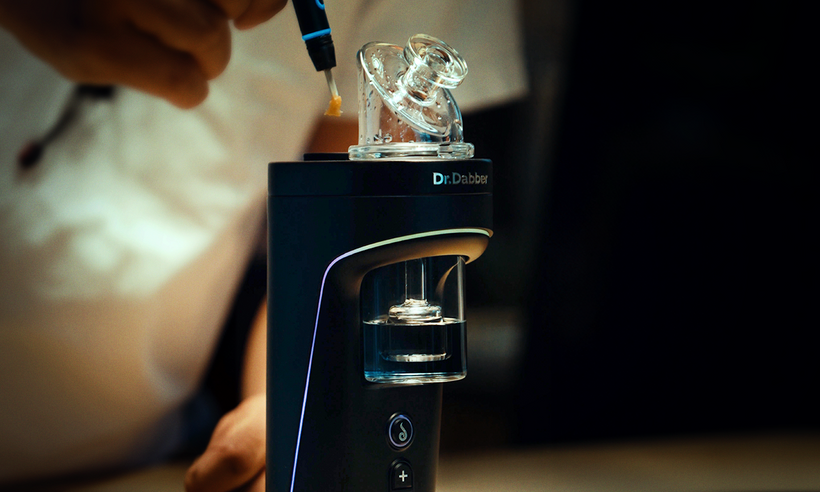
If you’ve decided to make the upgrade from a traditional rig to the Dr. Dabber SWITCH for all your dabbing needs, you may be intimidated about how to clean the high-tech device. Lucky for you, the Dr. Dabber SWITCH is capable of cleaning your Ceramic Induction Cup by running a high energy heat cycle, burning away any remaining residue in the Ceramic Induction Cup. Refer to your user manual for directions on how to set up self-cleaning mode. Please note you cannot use this cycle for crystal induction cups.
When it comes to cleaning the glass attachments, isopropyl alcohol gets the job done! We suggest Dr. Dabber Iso-Snaps for quick and easy cleanup. Iso-Snaps are the perfect all-in-one solution to cleaning your vaporizer, nails, and glass. Each Iso-Snap is a cotton swab filled with isopropyl alcohol located in the shaft. Just snap the top cotton swab and isopropyl alcohol is released from the shaft down into the bottom cotton swab head so no heat is necessary for cleaning.
Pro tip: Once you’re done with your SWITCH, make sure to remove the carb cap. Existing vapor gets trapped underneath the carb cap after use and can cause unnecessary buildup inside the SWITCH. This easy trick can help prolong the time between cleanings!
To clean the rest of the SWITCH and Crystal Induction Cups, make sure everything is off and cool to the touch, and use isopropyl alcohol and cotton swabs to clean.
As we mentioned, we all know cleaning your devices can be monotonous, but it’s essential to a great smoke sesh. Ideally, you should be changing the water in your rig on a daily basis, and cleaning it on a weekly basis. The Dr. Dabber SWITCH should also be cleaned on a weekly basis for proper maintenance.
Remember, cleaning your units and devices doesn’t just provide a smooth experience, but regular maintenance helps extend the life of your devices and ensure consistent results. Show us some before and after cleaning pics of your Dr. Dabber SWITCH or your rig on social media!

Copied!
Your cart is empty.
$ ${item.price}